Ingredients for Bakery Fresh Garlic Bread
For bakery-fresh garlic bread, you’ll need a loaf of Italian or French bread, softened butter, minced garlic, and optionally, Parmesan cheese and fresh herbs like parsley.
Essential Components
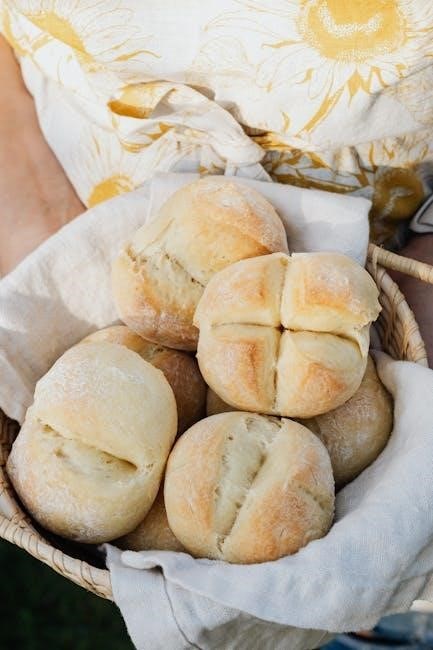
The foundation of bakery-fresh garlic bread lies in its core ingredients: a crusty Italian or French bread loaf, softened butter, and aromatic garlic. The bread must be sturdy enough to hold the toppings but soft inside for a fresh feel. High-quality butter ensures richness, while garlic adds that unmistakable flavor. Optional but recommended additions include grated Parmesan cheese for a savory kick and fresh herbs like parsley or rosemary for brightness. These components together create the perfect balance of flavors and textures.
Butter and Garlic Ratio
Achieving the perfect butter-to-garlic balance is crucial. Use 6 tablespoons of softened butter for every 4 garlic cloves, minced. This ratio ensures the garlic isn’t overpowering, while the butter provides a creamy base. Adjust to taste, but this proportion offers a delightful harmony of flavors, keeping the bread moist and aromatic without being overwhelming. Proper balance is key for that bakery-fresh taste!
Optional Additions (Cheese, Herbs, etc.)
Enhance your garlic bread with optional additions like Parmesan or mozzarella cheese for a creamy, savory twist. Fresh herbs such as parsley, rosemary, or thyme add aromatic depth. Sprinkle cheese on top or mix herbs into the butter for a customizable flavor profile. These extras elevate the dish, offering a rich and savory experience while maintaining the classic appeal of garlic bread.
Equipment Needed

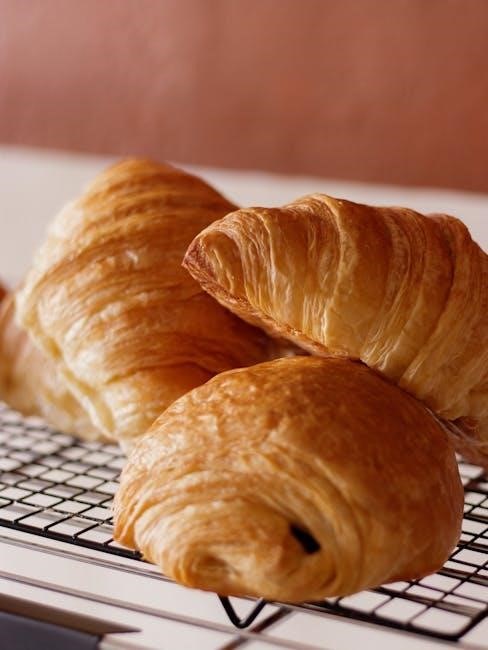
An oven or air fryer is essential for baking, along with a baking sheet or loaf pan. A mixer or bowl and spoon are needed for the garlic butter mixture.
Oven or Air Fryer
An oven is the traditional choice for baking garlic bread, ensuring even cooking and a crispy crust. Preheat to 400°F (204°C) for optimal results. For a quicker method, an air fryer works perfectly, especially for smaller batches. It achieves a golden, buttery finish in less time. Both methods require precise temperature control to avoid burning. Ensure the oven or air fryer is preheated before placing the bread inside for the best outcome. These appliances are essential for achieving bakery-fresh quality at home.
Baking Sheet or Loaf Pan
A baking sheet is ideal for achieving an evenly cooked, crispy crust on garlic bread. Line it with parchment paper for easy cleanup and to prevent sticking. For stuffed garlic bread, a loaf pan is perfect, as it keeps the bread intact while cooking. Both tools ensure the butter and seasonings distribute evenly. A baking sheet is great for sliced bread, while a loaf pan works best for whole loaves or stuffed variations. These kitchen essentials help achieve professional-quality results at home.
Preparing the Garlic Butter Mixture
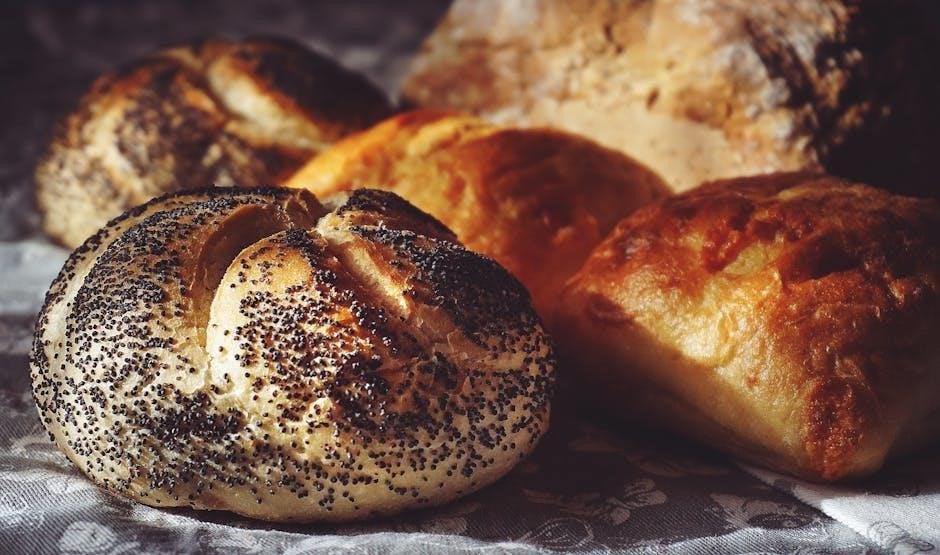
Combine softened butter with minced garlic, optional herbs, and a pinch of salt and pepper. Mix until smooth for an aromatic garlic butter spread.
Mixing Butter and Garlic
Start by softening the butter to ensure a smooth blend. Finely mince the garlic cloves and mix thoroughly with the butter using a spatula or electric mixer until fully incorporated. This step ensures the garlic is evenly distributed, creating a consistent flavor profile. For enhanced richness, add a pinch of salt or pepper to taste. Optional herbs like parsley or rosemary can also be folded into the mixture for added depth. This base is the foundation of the garlic butter spread for the bread.
Adding Optional Herbs or Cheese
For extra flavor, mix in fresh or dried herbs like parsley, rosemary, or thyme into the garlic butter. Grated Parmesan, mozzarella, or cheddar cheese can also be incorporated for a creamy, savory twist. Sprinkle the cheese evenly over the butter mixture before spreading it on the bread. This step enhances both texture and flavor, making the garlic bread more indulgent and aromatic. Adjust the amount of herbs or cheese to your taste, ensuring the garlic remains the star of the dish.
Cutting the Bread
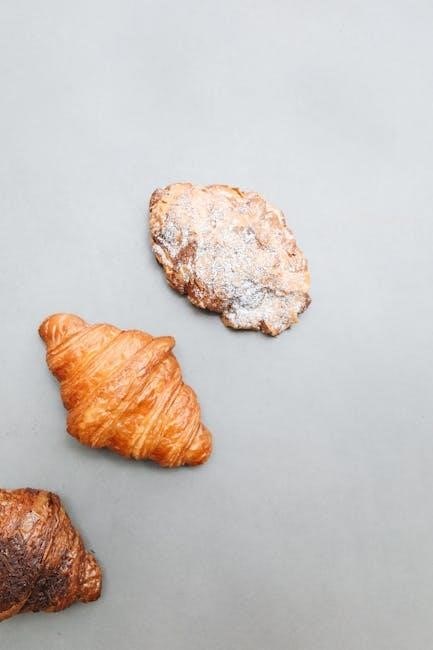
Cut the bread into 1-inch thick slices, either horizontally or vertically, ensuring even distribution of the garlic butter and a crispy texture when baked.
Choosing the Right Bread Loaf
For bakery-fresh garlic bread, choose a French or Italian bread loaf. Italian bread is ideal due to its soft interior and crispy crust. Opt for a 24-inch loaf for even distribution of flavors. Avoid baguettes, as they are too narrow. Freshness is key; day-old bread works best for holding the garlic butter without becoming too soggy.
How to Slice the Bread
Place the bread loaf on a cutting board and slice it into 1-inch thick pieces using a serrated knife. Cut at a slight angle for even distribution of garlic butter. Ensure slices are uniform for consistent baking. Avoid cutting all the way through the loaf to keep it intact for serving. This method ensures a crispy exterior and soft interior, perfect for absorbing flavorful garlic butter.
Assembling the Garlic Bread
Generously spread the garlic butter mixture onto each bread slice or between cuts if keeping the loaf whole. Optionally, sprinkle with Parmesan cheese or fresh herbs for extra flavor.
Spreading the Garlic Butter
For an even coating, spread the garlic butter mixture liberally onto the cut side of the bread using a butter knife or offset spatula. Ensure every slice is covered, paying attention to the edges to avoid dry spots. If using a loaf, spread the mixture between the slices for maximum flavor penetration. For an extra burst of flavor, sprinkle a pinch of Parmesan cheese or fresh herbs like parsley before baking.
Stuffing or Topping Options
Elevate your garlic bread by adding flavorful toppings or stuffings. Sprinkle shredded mozzarella or Parmesan cheese for a creamy, melty texture. Fresh or dried herbs like parsley, rosemary, or oregano add aromatic depth. For a hearty twist, layer slices of ham or pepperoni between the bread slices. Alternatively, mix minced sun-dried tomatoes or olives into the garlic butter for a savory burst of flavor. These additions ensure a customizable and delicious garlic bread experience.
Baking Instructions
Preheat your oven to 400°F (204°C). Bake the garlic bread for 10-15 minutes until golden and crispy. For an air fryer, cook at 375°F (190°C) for 5-7 minutes.
Oven Baking
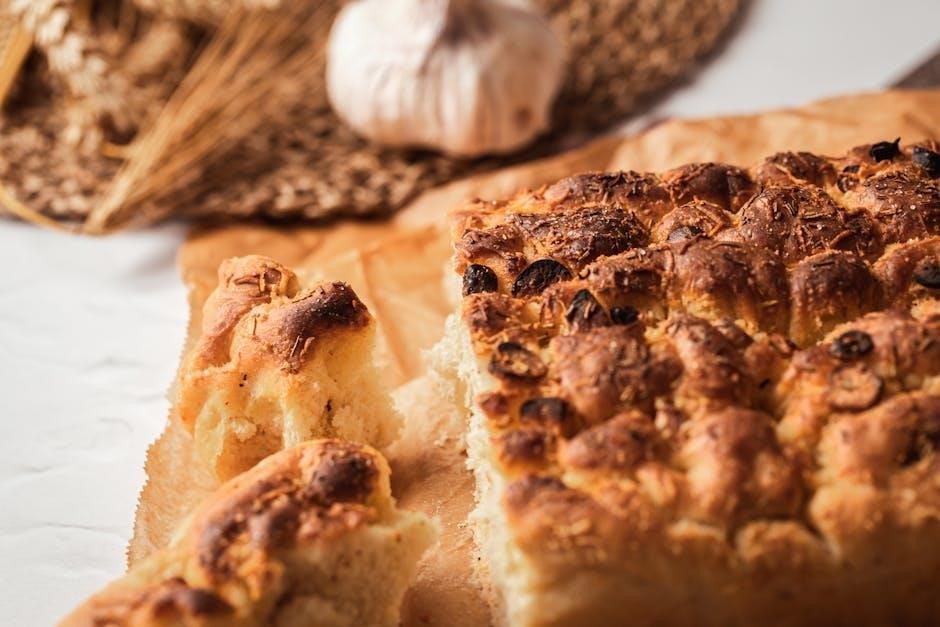
Preheat your oven to 400°F (204°C). Place the garlic bread on a baking sheet or directly on the oven rack for even cooking. Bake for 10-15 minutes, or until the bread is golden brown and crispy. If using a pre-sliced loaf, ensure slices are evenly spaced for consistent toasting. The result will be a perfectly toasted, aromatic garlic bread with a buttery, garlicky crust. This method ensures a classic, bakery-fresh finish every time.
Air Fryer Method
Preheat the air fryer to 400°F (204°C). Place the garlic bread slices or loaf in a single layer inside the air fryer basket. Cook for 5-7 minutes, or until golden brown and crispy. For a whole loaf, you may need to cook in batches depending on the air fryer size. This method ensures a crispy crust and evenly cooked interior, achieving bakery-fresh results without an oven. It’s a quick and efficient alternative for perfect garlic bread every time.
Serving and Storage
Serve garlic bread warm for the best flavor. Store leftovers in an airtight container or wrap in foil and refrigerate for up to 3 days. Reheat to crisp.
Best Time to Serve
Garlic bread is best served warm, straight from the oven, when the butter is melted and the bread is crispy. It’s a perfect accompaniment to soups, salads, or pasta dishes. Serve it during family dinners, holiday gatherings, or as an appetizer at parties. For optimal flavor, serve immediately after baking, as the aromatic garlic and butter mixture will be at its peak freshness and appeal. This makes it a versatile and crowd-pleasing option for any meal.
How to Store Leftovers
To keep garlic bread fresh, store leftovers in an airtight container at room temperature for up to 2 days. For longer storage, wrap tightly in plastic wrap or aluminum foil and refrigerate for up to 5 days. Reheat in the oven at 350°F (175°C) for 5-7 minutes to restore crispiness. Freezing is also an option—slice the bread, place in a freezer-safe bag, and bake frozen slices at 350°F (175°C) for 8-10 minutes until warmed through. Proper storage ensures the bread remains flavorful and enjoyable.
Crafting bakery-fresh garlic bread at home is simple with quality ingredients and proper techniques. Enjoy your homemade creation, perfectly crispy outside and soft within, every time.
Final Tips for Bakery-Quality Garlic Bread
For bakery-quality garlic bread, use high-quality butter and fresh garlic. Opt for Italian or French bread for the best texture. Avoid overmixing the butter mixture to prevent tough bread. Bake at 400°F for 10-12 minutes until golden. For extra crispiness, broil briefly. Add herbs or cheese for a personalized touch. Store leftovers in an airtight container at room temperature for up to 2 days. Reheat in the oven for the best results. Perfectly balanced and flavorful, your homemade garlic bread will impress every time. Freshness and simplicity make it a standout dish for any meal or gathering. Achieve bakery-fresh perfection effortlessly with these tips. By following these simple steps, you can create a delicious and authentic garlic bread experience at home. Always use fresh ingredients and proper baking techniques to ensure the best outcome. Enjoy your homemade garlic bread with family and friends, perfect for any occasion.
