Welcome! This manual guides you through the Pioneer DMH-1500NEX, a modern receiver boasting Android Auto and CarPlay․ It’s essential for new drivers seeking seamless smartphone integration․
Overview of the DMH-1500NEX Unit
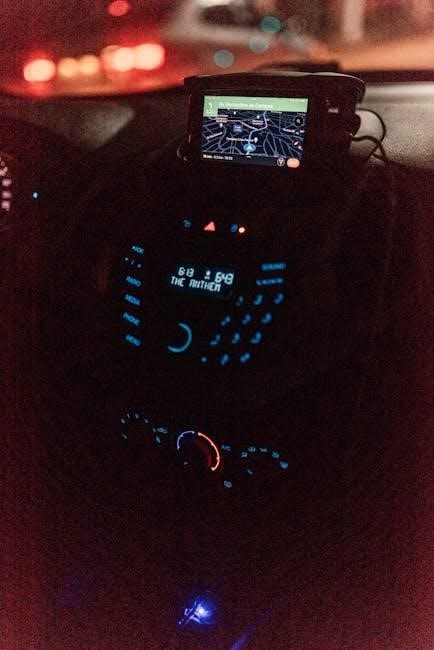
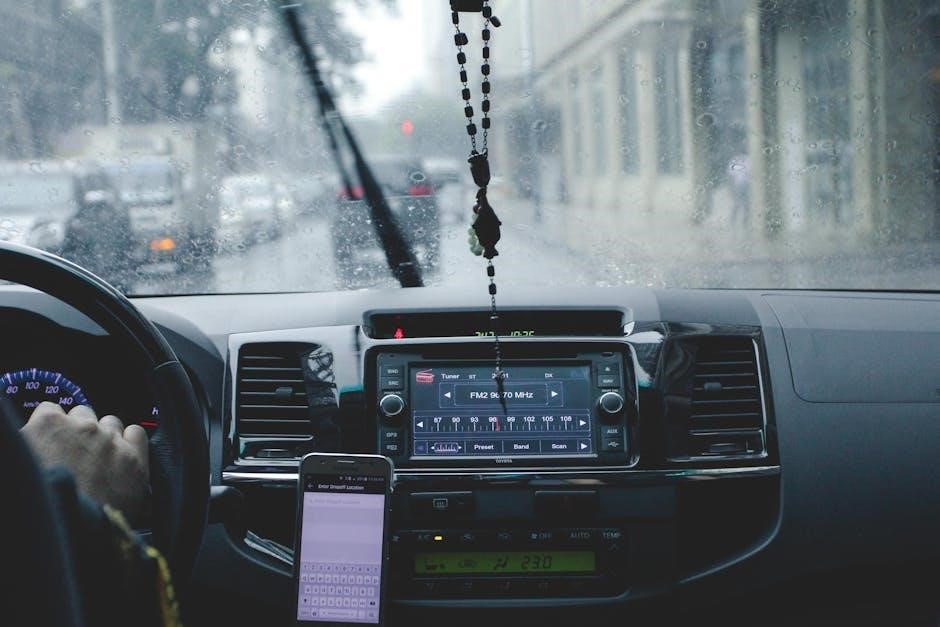
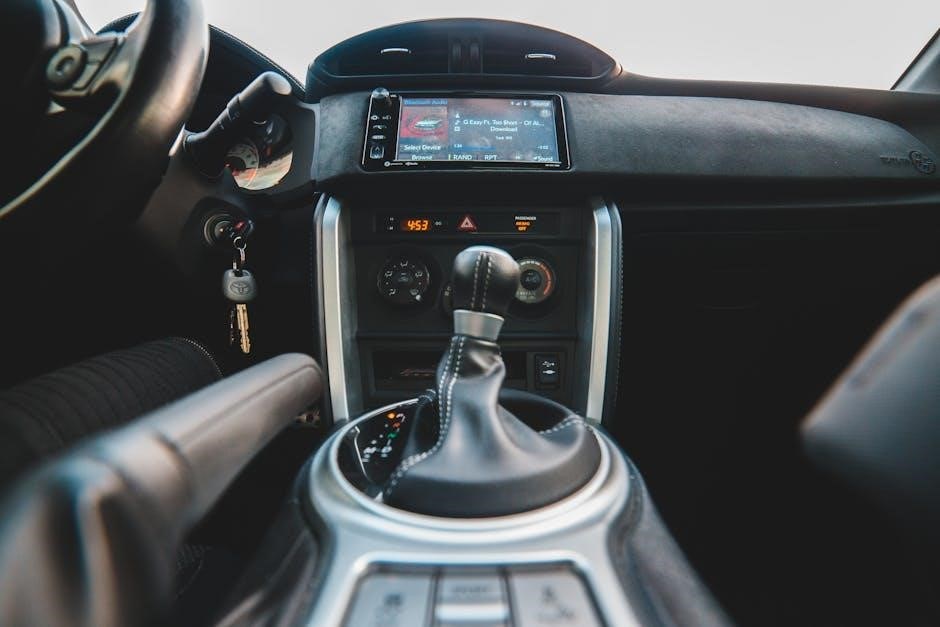
The Pioneer DMH-1500NEX is a 6․8-inch Double DIN in-dash receiver designed to bring a modern driving experience to your vehicle․ It’s a versatile unit, prioritizing smartphone connectivity with both Android Auto and Apple CarPlay, offering a safer and more convenient way to access navigation, music, and communication features while on the road;
This receiver doesn’t feature a built-in CD/DVD player, focusing instead on digital media sources․ It supports various audio formats, ensuring compatibility with a wide range of music libraries․ The large touchscreen display provides clear visibility and intuitive control, enhancing the overall user experience․
Notably, the DMH-1500NEX is designed for vehicles that require a traditional wiring harness, making it a popular upgrade option․ Its emphasis on smartphone integration reflects the growing demand for these features in modern vehicles, as many potential customers now prioritize these capabilities when purchasing a new car․
Key Features and Benefits
The Pioneer DMH-1500NEX shines with its seamless smartphone integration, offering both Android Auto and Apple CarPlay for effortless access to your favorite apps and features; This allows for voice-controlled navigation, music streaming, and hands-free calling, promoting safer driving habits․
Beyond connectivity, the unit boasts a responsive 6․8-inch touchscreen display, providing a clear and intuitive interface․ It supports various audio formats, ensuring compatibility with diverse music libraries․ While lacking a built-in CD player, it excels in modern media playback․
Furthermore, the DMH-1500NEX offers customizable audio settings, allowing you to tailor the sound to your preferences․ Its design caters to vehicles needing a traditional wiring harness, making it a versatile upgrade․ Ultimately, it delivers a modern, connected, and enjoyable in-car entertainment experience, meeting the demands of today’s drivers․
Installation Guide
Begin your upgrade! This section details the DMH-1500NEX installation process, covering wiring, power connections, and speaker configurations for a smooth, successful setup․

Wiring Diagram Essentials
Understanding the Connections: The DMH-1500NEX wiring harness is crucial for proper functionality․ Begin by carefully reviewing the provided diagram, noting each wire’s designated purpose․ Key connections include the 12V constant power (yellow), 12V switched power (red), ground (black), and illumination (orange)․
Speaker Wiring: Speaker outputs are color-coded – white for front left, white/black for front right, blue for rear left, and blue/black for rear right․ Ensure correct polarity to maintain optimal sound quality․ Subwoofer connections, if applicable, will typically be RCA outputs․
Antenna & Other Connections: Don’t forget the antenna connection for radio reception․ Also, locate the steering wheel control adapter interface (if using) and connect it according to the diagram․ Incorrect wiring can lead to malfunctions, so double-check all connections before proceeding․ A multimeter can be helpful for verifying continuity and voltage․
Safety First: Always disconnect the vehicle’s negative battery terminal before beginning any wiring work to prevent short circuits and potential damage․
Connecting to Vehicle Power & Ground
Powering Up: Begin by locating a suitable 12V constant power source (typically yellow) and a 12V switched power source (usually red) in your vehicle’s wiring harness․ The constant power maintains memory functions, while the switched power activates the unit with the ignition․
Grounding is Key: A solid ground connection (black wire) is vital for stable operation and noise reduction․ Connect this wire to a clean, unpainted metal chassis point as close to the unit as possible․ Ensure a secure and corrosion-free connection․
Fuse Protection: Always use a fuse of the appropriate amperage on the power wires to protect the unit and your vehicle’s electrical system․ Refer to the DMH-1500NEX manual for the correct fuse rating․
Double-Check Polarity: Verify that the power and ground connections are correct before reconnecting the vehicle’s battery․ Incorrect polarity can cause severe damage to the unit․
Speaker Connections & Configuration
Wiring Harness: Utilize the provided wiring harness to connect your speakers to the DMH-1500NEX․ Match the speaker wire colors carefully – typically, white is left front, white/black is left rear, gray is right front, and gray/black is right rear․
Speaker Impedance: Ensure your speakers’ impedance (measured in ohms) is compatible with the head unit․ The DMH-1500NEX generally supports 4-ohm speakers․ Using incorrect impedance can damage the amplifier․
Configuration Settings: Access the audio settings menu on the DMH-1500NEX to configure your speaker setup․ Options include selecting the number of speakers, assigning speaker outputs, and setting the crossover frequencies․
Balance & Fader: Fine-tune the soundstage using the balance and fader controls to adjust the volume levels for each speaker․ Proper configuration enhances the listening experience․

Smartphone Integration
Seamless Connectivity: The DMH-1500NEX excels with Android Auto and Apple CarPlay, offering drivers essential smartphone features directly on the receiver’s display․
Android Auto Setup & Troubleshooting
Initial Setup: To begin, ensure your Android smartphone meets the compatibility requirements outlined on the Pioneer website․ Download the Android Auto app from the Google Play Store․ Connect your phone to the DMH-1500NEX using a high-quality USB cable – a direct connection is crucial for stable performance․
Connection Process: Upon connection, the receiver will prompt you to accept Android Auto’s terms of service and grant necessary permissions․ Follow the on-screen instructions carefully․ If Android Auto doesn’t launch automatically, select the “Android Auto” icon on the receiver’s home screen․
Troubleshooting: If you encounter connection issues, first verify the USB cable․ Try a different cable known to work with data transfer․ Ensure Android Auto is enabled on your smartphone’s settings․ Restart both your phone and the receiver․ If problems persist, check for software updates for both the DMH-1500NEX and the Android Auto app․ A factory reset of the receiver (as a last resort) may resolve stubborn issues․ Consult Pioneer’s support website for detailed troubleshooting guides and FAQs․
Apple CarPlay Setup & Troubleshooting
Initial Connection: Begin by confirming your iPhone is compatible with Apple CarPlay – generally, iPhone 5 and newer models are supported․ Utilize a genuine Apple Lightning to USB cable for a reliable connection to the DMH-1500NEX․ Avoid using third-party cables, as they can often cause connectivity problems․
Pairing Process: When connecting your iPhone for the first time, a prompt will appear on the receiver asking if you want to allow CarPlay access․ Confirm this request․ Siri will then become available through the receiver’s interface․ Ensure “Allow CarPlay” is enabled in your iPhone’s settings under General > CarPlay․
Troubleshooting: If CarPlay fails to connect, verify the USB cable and try a different one․ Restart both your iPhone and the DMH-1500NEX․ Check for iOS updates on your iPhone and firmware updates for the receiver․ If issues continue, try resetting CarPlay settings on your iPhone (Settings > General > CarPlay > Reset CarPlay)․ Pioneer’s support website offers extensive troubleshooting resources and FAQs for common CarPlay issues․
Wireless Connectivity Options
Bluetooth Pairing: The DMH-1500NEX offers robust Bluetooth connectivity for hands-free calling and audio streaming․ To pair a device, navigate to the Bluetooth settings on the receiver and select “Add Device․” Ensure your smartphone’s Bluetooth is enabled and discoverable․
Wireless Audio Streaming: Once paired, you can stream music from your smartphone using Bluetooth․ The receiver supports various Bluetooth profiles for optimal audio quality․ For improved streaming stability, minimize the distance between the receiver and your smartphone․
Wi-Fi Capabilities: While primarily utilizing smartphone mirroring via USB, the DMH-1500NEX also supports Wi-Fi for software updates and potentially certain app functionalities․ Connect to a 2․4GHz Wi-Fi network through the receiver’s settings menu․ Note that Wi-Fi performance depends on network signal strength․ Regularly check for firmware updates to ensure optimal performance and compatibility with new features․

System Settings & Customization
Personalize your experience! Explore audio, display, and navigation settings to tailor the DMH-1500NEX to your preferences for optimal driving enjoyment․
Audio Settings & Equalization
Fine-tune your sound! The DMH-1500NEX offers extensive audio customization options․ Access these settings through the main menu, navigating to ‘Audio Settings’․ Here, you’ll find controls for volume leveling, balance, and fader – allowing precise adjustment of sound distribution within the vehicle cabin․
Equalizer Control: Dive deeper with the built-in 13-band graphic equalizer․ This powerful tool lets you sculpt the audio frequencies to match your musical taste or compensate for vehicle acoustics․ Preset equalizer curves (Rock, Pop, Jazz, etc․) are available for quick adjustments, or create and save your own custom profiles․
Advanced Sound Features: Explore features like Bass Boost, Loudness, and Subwoofer Level control to enhance low-frequency response and overall sound clarity․ The DMH-1500NEX also supports advanced sound processing technologies for a truly immersive listening experience․ Experiment with these settings to achieve the perfect sonic balance for your driving enjoyment․ Remember to adjust gradually for optimal results!
Display Settings & Brightness
Personalize your view! The DMH-1500NEX provides comprehensive display customization options, accessible via the ‘Display Settings’ menu․ Adjust brightness levels to suit varying lighting conditions – from bright sunlight to nighttime driving․ Choose between a range of preset brightness modes or manually fine-tune the intensity for optimal visibility․
Display Customization: Beyond brightness, you can modify the display color, contrast, and even select different themes to match your vehicle’s interior․ Adjust the screen timeout duration to conserve power when the unit is inactive․ Customize the wallpaper with personal images or select from pre-loaded options․
Advanced Display Options: Explore features like demo mode for showcasing the unit’s capabilities and adjust the display’s responsiveness to touch input․ Ensure optimal viewing angles by calibrating the display settings․ Regularly adjusting these settings will enhance your overall user experience and ensure clear visibility while driving safely․
Navigation System Configuration
Get Directions with Ease! The DMH-1500NEX’s navigation system requires initial configuration for optimal performance․ Access the ‘Navigation Settings’ menu to begin․ First, ensure your map data is up-to-date; connect to Wi-Fi to download the latest maps and points of interest (POI)․ Configure your preferred route calculation method – fastest time, shortest distance, or avoiding tolls․
Personalized Navigation: Customize voice guidance settings, selecting your preferred language and volume․ Adjust map display options, including 2D or 3D view, traffic display, and lane guidance․ Set up your home and work addresses for quick navigation․ Explore advanced features like speed limit warnings and real-time traffic updates․
System Optimization: Regularly clear the navigation system’s cache to improve performance․ Configure the system to automatically reroute in case of traffic congestion․ Familiarize yourself with the search function for efficient destination input․ Proper configuration ensures a smooth and reliable navigation experience․
Troubleshooting Common Issues
Resolve Problems Quickly! This section addresses frequent DMH-1500NEX issues, including Bluetooth connectivity and display malfunctions, offering solutions for a seamless user experience․
Bluetooth Connection Problems
Experiencing Bluetooth difficulties? Several factors can disrupt the connection between your smartphone and the DMH-1500NEX․ First, ensure Bluetooth is enabled on both devices and that they are within range of each other – typically within 30 feet․
Pairing Issues: If your device isn’t pairing, try deleting any existing DMH-1500NEX entries from your phone’s Bluetooth settings․ Then, initiate the pairing process again from the receiver’s Bluetooth menu․ Confirm any prompted PIN codes match on both devices․
Interference: Other wireless devices can sometimes interfere with Bluetooth signals․ Try moving away from potential sources of interference, such as Wi-Fi routers or microwave ovens․
Device Compatibility: While the DMH-1500NEX supports a wide range of Bluetooth profiles, older or less common devices might experience compatibility issues․ Check Pioneer’s website for a list of tested and compatible devices․ A receiver reset can also resolve intermittent connection drops․
Firmware Updates: Ensure your DMH-1500NEX has the latest firmware installed․ Updates often include Bluetooth performance improvements and bug fixes․
Display & Touchscreen Issues
Facing display or touchscreen problems with your DMH-1500NEX? Several solutions can address common issues․ First, verify the display brightness is appropriately adjusted via the settings menu; a dim screen can sometimes appear non-functional․
Touchscreen Responsiveness: If the touchscreen is unresponsive, try a soft reset of the unit by briefly pressing and releasing the power button․ For persistent issues, a full factory reset (accessible through the settings menu – caution: this will erase saved settings) might be necessary․
Display Flickering or Distortion: Check all wiring connections to the display․ Loose or damaged cables can cause visual artifacts․ Ensure the vehicle’s voltage is stable, as fluctuations can affect display performance․
Frozen Screen: If the screen freezes, attempt a hard reset by disconnecting the vehicle’s battery for several minutes, then reconnecting it; This forces a complete system reboot․

Firmware Updates: Outdated firmware can sometimes cause display glitches․ Regularly check for and install the latest firmware updates from Pioneer’s support website․